Security roles are a fundamental part of managing access in D365 Finance & Operations (F&O). Whether you’re granting access to entire forms or controlling visibility at the button level, D365 provides robust tools for developers and administrators to implement granular security.
In this blog, I’ll walk you through the steps to:
- Create security roles,
- Assign them to users,
- And restrict access to specific form controls using Visual Studio and the D365 FO environment.
Create security role in D365
In Dynamics 365 Finance and Operations, security roles are used to grant or restrict user access to specific operations. These roles can be created either directly within the Finance and Operations environment or through the development tool, Visual Studio. In this blog, we’ll focus on the Visual Studio approach to creating a security role—ideal for developers who need more control and customization.
Creating a Security Role in Visual Studio
Security roles can be created either directly within the D365 F&O environment or using Visual Studio—the preferred method for developers due to its flexibility and integration with source control.
Step 1: Create a Privilege
- In Visual Studio, add a Privilege to your project.

- Right-click > Add new Entry Point.


- Set:
- Object Type: Display Menu Item
- Object Name: The target form or report
Next, add a new Entry Point to the privilege and configure its properties.
- Set the Object Type to Display Menu Item.
- Then, specify the Object Name by entering the name of the relevant display menu item.

This privilege grants access to the specified display menu item.
Step 2: Create a Security Role
Now, create a new Security Role where the previously created Privilege will be used. Follow the steps below to add and configure the role accordingly.
- Add a new Security Role to your project.

- Right-click the role > Add Privilege.

- In properties, link the privilege you just created.

This role will now include the necessary permissions defined by the privilege.
Step 3: Create a Duty
Although optional for quick testing, following best practices involves creating duties that group privileges logically.
- Create a new Duty.

- In the properties pane, add your previously created Privilege.

Note: While duties are optional for quick testing, best practice is to structure roles → duties → privileges for maintainability.
Step 4: Assign the Security Role to a User
Now, create a new Duty and assign the previously created Privilege in its Properties pane.
Once done, the Security Role will be available in the D365 F&O environment.
To assign it to a user, go to System Administration > Users, select a user, and click on Assign Roles.

Next, search for the previously created Security Role, select it, and click OK to assign it to the user.

The security role is now successfully assigned to the user. Users with this role will have access to the specified objects—such as forms or reports—while access remains restricted for users without this role, unless they are system administrators.
Assigning to Forms
In certain scenarios, instead of securing an entire form, you may need to restrict access to specific form controls. This section will guide you through providing access to individual form controls using security roles.
- First, identify the form control you want to secure. In this example, we will use the Laid Off button as the target control, as shown below

- Select the button, press F4 to open its properties, and set the Permission property to Manual as shown below.

- Within your desired security privilege, you can either configure form control permissions directly or use Entry Points.
To set form control permissions, right-click on Form Control Permissions, select New Form, and then set the Name property to the target form (e.g., HcmWorker in this example), as shown below.

- Next, right-click on your form and select New Control. Then, specify the Control Name and set the required Permission as shown below.

- For the Entry Point method, first add a new entry point and set its Object Type and Object Name properties. Alternatively, for existing entry points, select the desired entry point, click the dropdown arrow, then right-click on Controls and choose New Control. Finally, set the Grant and Name properties to specify the control and its access rights.

After completing these steps, assign the privilege to the appropriate security role and duty, as outlined earlier in this blog.
Final Thoughts
Implementing security in Dynamics 365 Finance & Operations is not just about restricting access to forms—it’s about applying precise control. By leveraging both form-level and control-level security, you ensure users have access to exactly what they need—and nothing beyond that.
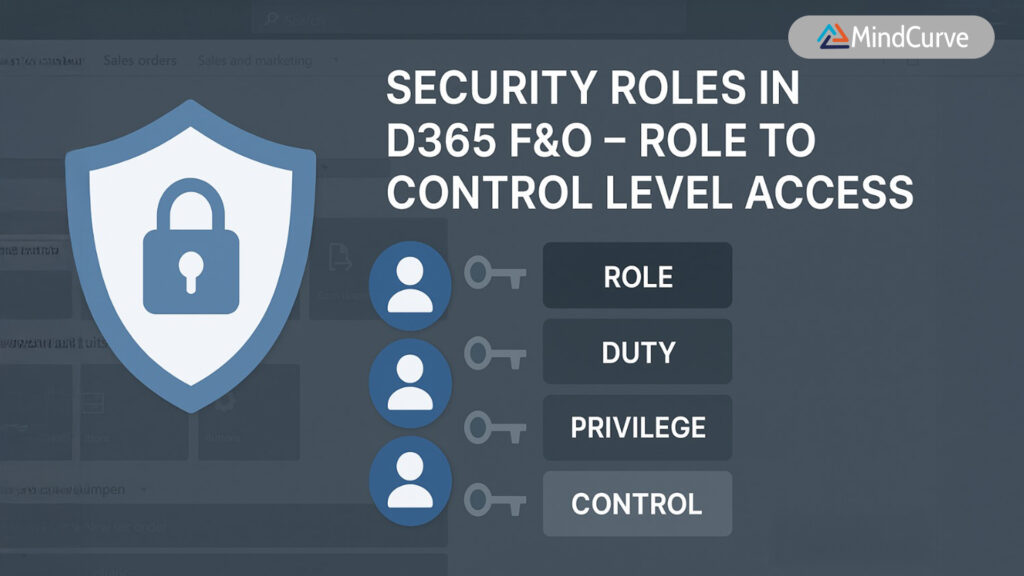
Whether you are an administrator focused on tightening access or a developer aiming for compliance, following a structured security design—Role → Duty → Privilege → Entry Point/Control—is key to maintaining a secure and manageable environment.
FAQ’s:
Q1. What are security roles in Dynamics 365 Finance & Operations?
A: Security roles define and control user access to various features, forms, reports, and controls within D365 F&O. They help restrict or grant permissions for specific operations based on business needs.
Q2. Where can security roles be created in D365 F&O?
A: Security roles can be created either directly in the Finance & Operations environment or through Visual Studio. Visual Studio is preferred by developers for its flexibility and integration with source control.
Q3. What is the typical structure for security design in D365 F&O?
A: The recommended security structure follows this hierarchy: Role → Duty → Privilege → Entry Point/Control. This structure improves maintainability and granular access control.
Q4. What is a Privilege in D365 security?
A: A Privilege represents specific permissions to access objects like forms, reports, or menu items. It is the building block assigned to duties and roles.
Q5. What is the difference between a Duty and a Privilege?
A: A Duty groups multiple Privileges logically to represent a set of responsibilities. Privileges are individual permissions, while Duties bundle these permissions to simplify role assignment.
Q6. How do you assign a security role to a user?
A: Navigate to System Administration > Users in D365 F&O, select the user, click on Assign Roles, search for the desired security role, select it, and confirm by clicking OK.
Q7. Can security be restricted at the form control level?
A: Yes. You can restrict access not just to entire forms but also to specific controls (buttons, fields) within a form by setting permissions at the control level using security privileges.
Q8. How do you secure individual form controls?
A: Set the form control’s Permission property to Manual, then configure the form control permissions in a security privilege or via entry points in Visual Studio.
Q9. What is an Entry Point in the context of D365 security?
A: An Entry Point defines an access path to a form, report, or control (like a display menu item). Privileges reference entry points to grant or restrict access.
Q10. Why is it recommended to use Visual Studio for creating security roles?
A: Visual Studio offers enhanced flexibility, integration with source control, and better customization options, making it ideal for developers managing complex security requirements.
Q11. Is it mandatory to use Duties when creating security roles?
A: No, Duties are optional for quick testing but are considered best practice for maintainability and clear security structure.
Q12. What should you do if you need help implementing security roles?
A: Reach out to a Microsoft Dynamics AX/365 Technical Consultant or refer to official Microsoft documentation and community forums for assistance.
Have questions or need help with your D365 Finance & Operations security setup?
I’m here to assist!
✍️ Blog curated by the MindCurve Training Team With special thanks to Dayashankar Kushawah, Consultant – Microsoft Dynamics 365, for contributing insights based on real-world implementation experience.
📧 For implementation support or tailored consulting, reach out via 3E MindCurve Private Limited