Creating custom forms in Dynamics 365 Finance and Operations is a common task for technical consultants and developers. Whether you need to display new data, add custom business logic, or create a simplified UI, knowing how to build a custom form from scratch is essential.
In this blog, we’ll walk through the process of creating a custom form that displays records from a custom table.
Step 1: Create a Custom Table (if not already created)
- In Visual Studio, create a new table (e.g.,
E3_CustomTable).
- Add required fields (e.g.,
ItemId,Description,DateCreated).
- Set the primary index and field groups.

Step 2: Create a Data Entity (Optional, for import/export)
- Right-click on the project > Add > New item > Data Entity.

- Select your custom table as the data source.
- Build and synchronize.
Step 3: Create a Form
- Right-click your project > Add > New item > Form.
- Name it (e.g.,
E3_CustomForm).
Set Form Design:
- In the form design, add a Design node (
Pattern: Details MasterorSimple List).
- Set caption, pattern, and design layout.

Step 4: Add Data Sources
- Add
E3_CustomTableas a data source.
- Set
JoinSourceandLinkTypeif using multiple tables. - Set
AllowEdit,AllowCreate, andAllowDeletebased on the requirement.
Step 5: Add Grid or Controls
In the Design node:
- Add a Grid to show records.
- Drag and drop fields from the Data Source into the grid.
- Optionally add filters, buttons, and group controls.
Step 6: Add Menu Item
- Right-click project > Add > New item > Display Menu Item.

- Set
Object Type = Form,Object = E3_CustomForm. - Set Label, HelpText, and Security (e.g., add to a custom privilege or duty).

Step 7: Build and Deploy
- Build the project.
- Sync the database if changes were made to tables or metadata.
- Open D365 and navigate using the display menu item to test the form.
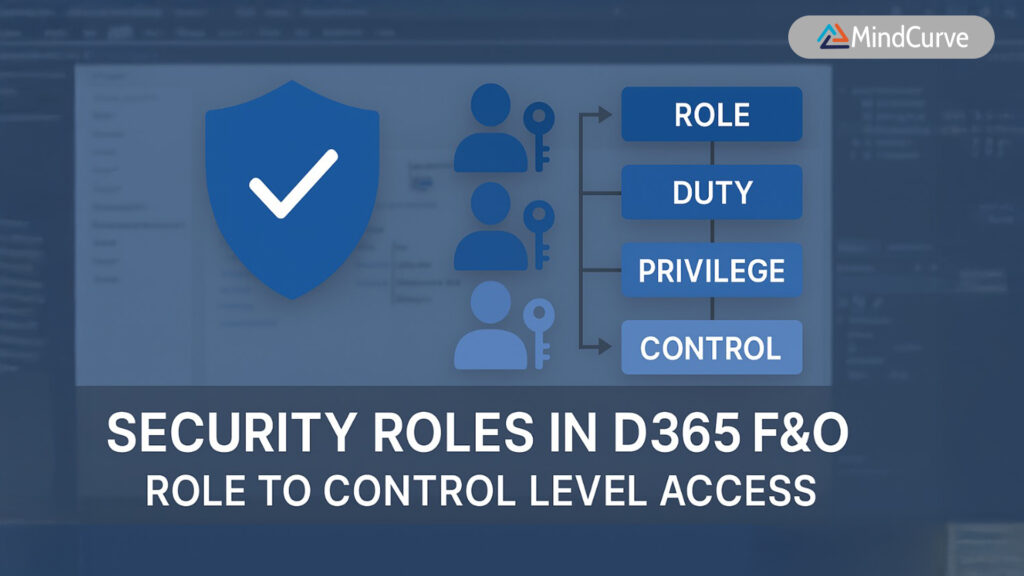
Bonus: Add Security
- Create a privilege or duty to include your new menu item.
- Assign it to a role so users can access the form securely.
Conclusion
Custom forms in D365 F&O allow you to extend the application to meet specific business requirements. Following these steps ensures a clean, maintainable, and user-friendly form that integrates well with the overall platform.
Stay tuned for more practical D365 development tutorials!
Frequently Asked Questions (FAQs)
Q1. Do I need a custom table to create a custom form in D365 F&O?
A: Yes, if your form is intended to display or manipulate new data, you must first create a custom table that defines the structure of that data.
Q2. Can I use existing tables instead of creating a custom one?
A: Absolutely. If your form is meant to display or interact with existing data structures in D365 F&O, you can use standard tables as your data sources.
Q3. What is the purpose of the Data Entity in this process?
A: The Data Entity is optional but useful if you want to enable data import/export through Excel, Data Management, or integrations via OData.
Q4. What’s the difference between a ‘Simple List’ and a ‘Details Master’ pattern?
A: A ‘Simple List’ is best for basic record display and editing, while ‘Details Master’ is suited for more complex forms that include header and line data or require tabs.
Q5. How do I make sure users can access my custom form?
A: You need to create a Display Menu Item linked to the form and assign it to a custom privilege or duty, which should then be assigned to a role.
Q6. Is it necessary to sync the database every time I build the project?
A: You only need to synchronize when changes are made to metadata like tables or data entities. For form-only changes, a build and deploy will suffice.
Q7. Can I customize the look and feel of the form?
A: Yes, you can adjust layout, control groups, styles, and add custom buttons or filters within the Design node of the form.
Q8. How do I debug or test my custom form?
A: After deploying, navigate to your form via the display menu item in the D365 environment. Use tools like Event Viewer, browser console, or X++ debugger for troubleshooting.
Q9. Can I add validations or business logic to the form?
A: Yes, you can add event handlers (e.g., validateWrite, modified) on the form or table level to implement business logic.
Q10. How do I include this form in a workspace or dashboard?
A: Add the display menu item to a tile or workspace configuration using personalization or via extensions.
Need help building custom forms in D365 Finance & Operations?
From table design to form deployment and security setup—I’ve got you covered.
✍️ Blog curated by the MindCurve Training Team With special thanks to Dayashankar Kushawah, Consultant – Microsoft Dynamics 365, for contributing insights based on real-world implementation experience.
📧 For implementation support or tailored consulting, reach out via 3E MindCurve Private Limited